The first time I tried to resurrect a classic dessert, the kitchen turned into a chaotic battlefield. I was chasing a midnight craving for a rich, chocolatey treat, and the only thing I could find was a box of stale Oreos and a half‑baked pie crust that had collapsed like a bad joke. I stared at the ruined dough, the chocolate melting into a greasy puddle, and I thought, “If I can’t fix this, I’m never going to taste the real thing again.” That moment of defeat turned into the spark that set me on a mission to create the ultimate ice cream pie, a version so decadent it would make my friends question their own culinary standards.
Picture this: the air is thick with the aroma of toasted chocolate, the faint hiss of butter sizzling in a pan, and the unmistakable crunch of Oreo crumbs turning golden. The kitchen lights cast a warm glow that makes the melted chocolate look like liquid midnight. As you watch the mixture bubble, you can almost taste the buttery richness mingling with the sharp bite of dark chocolate. The sound of the mixture thickening is a low, comforting rumble, like a secret lullaby for dessert lovers. The texture feels silky, and the anticipation of that first bite feels almost sacramental.
What makes this version stand out isn’t just the ingredients; it’s the method that turns ordinary into extraordinary. The crust is a buttery, crumbly base that holds the ice cream like a secret vault. The chocolate sauce is poured over the frozen center, creating a glossy, glossy waterfall that coats the pie like velvet. The almonds add a nutty crunch that breaks the smoothness in the best way possible. And the coffee ice cream? It’s the dark, aromatic punch that ties everything together, giving the pie a depth of flavor that you can’t find in store‑bought desserts. I dare you to taste this and not go back for seconds.
If you’ve ever struggled with a dessert that ends up too sweet or too dry, you’re not alone. I’ve been there, and I’ve discovered that the secret lies in balancing the flavors and textures with precision. This recipe is hands down the best version you’ll ever make at home, because it takes the classic elements and elevates them with a few intentional twists. Picture yourself pulling this out of the oven, the whole kitchen smelling incredible, and feeling the anticipation building with every minute. Stay with me here—this is worth it. Let me walk you through every single step, and by the end, you’ll wonder how you ever made it any other way.
What Makes This Version Stand Out
- Flavor: The combination of dark chocolate and coffee ice cream creates a complex, layered taste that dances on the palate. It’s not just chocolatey; it’s an espresso‑kissed dream that lingers.
- Texture: The crust offers a buttery crunch, while the ice cream provides a silky, creamy center. The almonds add a satisfying snap that breaks the monotony.
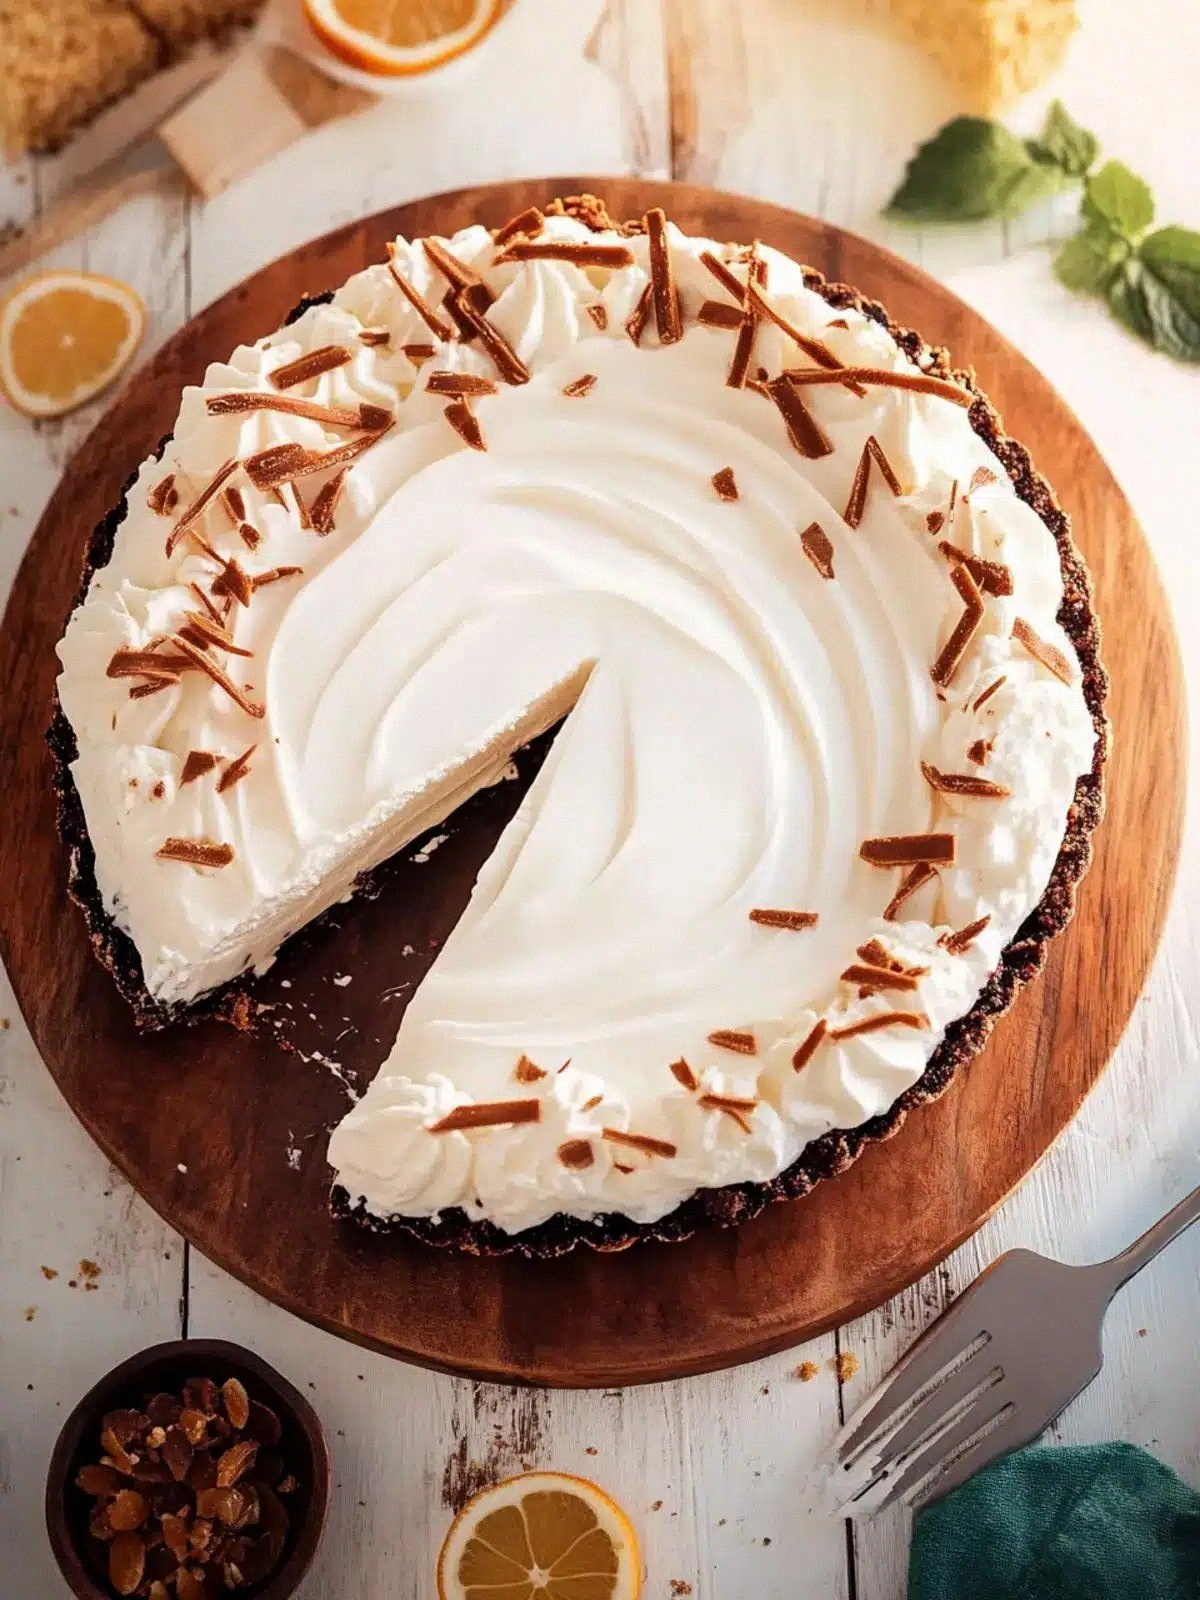
- Visual Appeal: A glossy chocolate glaze on a golden crust is a feast for the eyes. The contrast of dark sauce against the light crumb is almost cinematic.
- Ease of Preparation: Despite its gourmet flavor, the recipe is straightforward—no advanced techniques required. Anyone can master it with a little patience.
- Make‑Ahead Potential: The pie can be assembled days ahead and frozen, making it perfect for parties or last‑minute dessert plans.
- Ingredient Quality: Using high‑quality dark chocolate and fresh coffee ice cream ensures the flavor profile is rich and authentic.
Alright, let’s break down exactly what goes into this masterpiece…
Inside the Ingredient List
The Flavor Base
Butter is the backbone of the crust, adding a rich, velvety mouthfeel that carries the cookie crumbs. If you skip butter, the crust will taste dry and crumbly, like a bad joke. Use unsalted butter to control the salt level precisely. For a slightly smoky note, you can toast the butter before mixing.
Oreo cookies provide the sweet, chocolatey crunch that anchors the pie. They also add a subtle cookie flavor that complements the dark chocolate sauce. If you’re looking for a gluten‑free option, opt for sugar‑free or oat‑based Oreos, but keep the flavor profile in mind. The more Oreos you use, the more pronounced the cookie taste becomes.
The Texture Crew
Dark chocolate, unsweetened, is the star of the sauce. Its bitterness balances the sweetness of the sugar, creating a harmonious flavor. Melt the chocolate slowly over a double boiler to avoid scorching. If you prefer a smoother sauce, whisk in a splash of heavy cream while it melts.
Granulated sugar is the sweetener that rounds off the chocolate’s bite. A small amount of sugar is enough to enhance the flavor without overpowering it. If you’re watching calories, you can reduce the sugar by one‑third, but the sauce will be slightly less glossy.
Evaporated milk adds body and a subtle caramel note. It also helps to thicken the sauce to a pourable consistency. If you can’t find evaporated milk, substitute with whole milk and reduce the amount of heavy cream.
The Unexpected Star
Vanilla extract brings a warm, aromatic undertone that lifts the chocolate. A teaspoon is enough to infuse the sauce without drowning the other flavors. If you prefer a vanilla‑free version, a dash of almond extract will give a similar lift.
Coffee ice cream is the secret sauce that gives the pie depth and a subtle caffeine kick. It also cools the warm chocolate sauce instantly, creating a perfect temperature contrast. If you’re a coffee aficionado, you can double the amount for an extra bold finish.
The Final Flourish
Heavy whipping cream is whisked to soft peaks and folded into the sauce, giving it a light, airy texture. It also adds a rich mouthfeel that complements the ice cream. If you’re vegan, use coconut cream for a similar effect.
Confectioners’ sugar is dusted on top for a sweet, silky finish. It also gives the pie a polished look that’s perfect for serving at a dinner party. A light dusting is enough; too much can make it overly sweet.
Sliced almonds are toasted to bring out their nutty flavor. They add a crunchy texture that contrasts the soft ice cream and sauce. If you’re allergic, you can replace them with chopped pistachios for a different flavor profile.
Everything's prepped? Good. Let's get into the real action...
The Method — Step by Step
- First, preheat your oven to 350°F (175°C). In a mixing bowl, combine the crushed Oreo cookies with the melted butter, pressing the mixture into a 9‑inch pie pan. Make sure the crust is evenly packed; this will prevent it from cracking. Bake for 10 minutes until the edges are golden. Remove from the oven and let it cool completely before adding the filling.
- While the crust cools, prepare the chocolate sauce. Melt the dark chocolate in a double boiler, stirring until smooth. Add the granulated sugar and evaporated milk, whisking continuously until the mixture is glossy and pourable. This is the moment of truth—if it’s too thick, add a splash of milk; if too thin, let it simmer a bit longer.
- Once the sauce is ready, fold in the vanilla extract and whisk until fully incorporated. Then, beat the heavy cream until it forms soft peaks. Gently fold the whipped cream into the chocolate sauce, creating a light, airy mixture. This will give the pie a luscious texture that melts in your mouth.
- Now it’s time to assemble. Place the cooled crust in a shallow dish or a pie tin. Spoon the coffee ice cream onto the crust, smoothing it into an even layer. The ice cream should be slightly softened—just enough to spread but still firm. This step is crucial for a smooth finish.
- Pour the chocolate sauce over the ice cream, allowing it to cascade in a waterfall pattern. The sauce should coat the ice cream like velvet, creating a glossy finish. Let the sauce set for a few minutes so it doesn’t run into the crust. This creates a stunning visual effect.
- Sprinkle the toasted sliced almonds over the top. They should be evenly distributed for a balanced crunch. Dust the entire pie with confectioners’ sugar, giving it a polished look. This final touch will make your pie Instagram‑worthy.
- Place the pie in the freezer for at least 4 hours, or until the ice cream is firm. When you’re ready to serve, let it sit at room temperature for 5 minutes to soften slightly. Slice with a warm knife for clean cuts. Enjoy the rich, chocolatey layers with every bite.
That's it—you did it. But hold on, I've got a few more tricks that'll take this to another level…
Insider Tricks for Flawless Results
The Temperature Rule Nobody Follows
Keeping the ice cream slightly softened before assembly is key. If it’s too frozen, the chocolate sauce will melt into a sticky mess. I’ve seen this happen when the freezer was too cold. To avoid it, let the ice cream sit at room temperature for 10 minutes before pouring. This small step ensures a smooth, elegant finish.
Why Your Nose Knows Best
When the chocolate sauce is bubbling, the aroma should be rich and slightly smoky. If it smells flat, you’re not heating it enough. The scent is a perfect indicator that the sauce is ready. Trust your nose; it’s a reliable guide to flavor.
The 5‑Minute Rest That Changes Everything
After pouring the chocolate sauce, let the pie rest for 5 minutes before freezing. This allows the sauce to set and prevents it from seeping into the crust. I once froze a pie immediately and it ended up with a soggy bottom. That 5‑minute pause made all the difference.
Use a Sharp Knife for Clean Slices
A warm, damp knife cuts through the pie like a hot knife through butter. Dip the knife in hot water, wipe dry, and slice. This technique gives you clean, professional‑looking slices. A dull knife will crush the layers.
Add a Splash of Water Before Reheating
If you need to reheat the pie for a quick serving, add a tiny splash of water to the sauce. This steams the chocolate back to its glossy state. I’ve used this trick for a brunch event and the pie looked freshly baked.
Creative Twists and Variations
This recipe is a playground. Here are some of my favorite ways to switch things up:
Almond Joy Edition
Replace the sliced almonds with coconut flakes and drizzle a caramel sauce over the top. The coconut adds a tropical twist while the caramel brings a sweet, buttery depth. This version is perfect for a beach‑themed dinner party.
Red Velvet Surprise
Swap the dark chocolate sauce for a red velvet frosting and add a splash of cream cheese. The tangy cream cheese balances the sweetness, and the red velvet gives a festive color. This is ideal for holiday gatherings.
Minty Freshness
Add a handful of fresh mint leaves to the chocolate sauce for a refreshing twist. The mint’s coolness cuts through the richness, creating a balanced palate. This version pairs well with a light summer salad.
Nutty Caramel Crunch
Drizzle a caramel sauce over the chocolate and sprinkle chopped pecans. The pecans add a buttery crunch that complements the caramel’s sweetness. This variation is a crowd‑pleaser at game‑day events.
Espresso Infusion
Add a tablespoon of espresso powder to the chocolate sauce. The espresso enhances the coffee ice cream’s flavor, giving the pie a deeper, more complex profile. This version is perfect for a sophisticated dinner party.
Storing and Bringing It Back to Life
Fridge Storage
Store the assembled pie in an airtight container in the fridge for up to 48 hours. The crust will soften slightly, so use a sharp knife to slice. If you’re serving it the next day, let it sit at room temperature for 5 minutes before cutting.
Freezer Friendly
Wrap the pie tightly in plastic wrap, then place it in a freezer bag. Freeze for up to 3 weeks. When you’re ready to serve, thaw it overnight in the fridge. This keeps the texture intact and prevents ice crystals from forming.
Best Reheating Method
If you need to warm the pie slightly, place it in a preheated oven at 200°F (93°C) for 5 minutes. The low heat will revive the chocolate’s glossy sheen without melting the ice cream. This method works great for a brunch event where you want the pie to look freshly baked.