I was standing in my kitchen, eyes glued to the oven timer, when the alarm blared and the entire batch of granola bars burst into a black, crunchy mess. That night, the smell of burnt honey lingered like a bad ghost, and I swore I would never again trust a recipe that turned my snack into a snack‑sized disaster. Fast forward to this morning, and I’m holding a perfectly golden, chewy batch that practically melts in your mouth. I’m talking about the ultimate gluten‑free granola bars that combine the crunch of oats, the richness of peanut butter, and a hint of vanilla. And trust me, this recipe will change how you think about quick, healthy snacks forever.
Picture the kitchen: the timer chirps, the counter smells of toasted oats, a faint sweet scent of honey drifts in, and the sound of the bars cooling is like a gentle lullaby. You can feel the warm, sticky mixture as it slides into the pan, the texture shifting from slick to firm. The first bite is a symphony—crunchy edges, a chewy center, and that subtle buttery undertone that lingers on your palate. I’ve tasted dozens of granola bars, but none have matched this harmony of flavors and textures. It’s the kind of snack that feels both indulgent and wholesome, like a hug in a bite.
What sets these bars apart isn’t just the ingredients; it’s the technique. I use a gentle press to compact the mix, ensuring every bite holds together without being too dense. The secret is a splash of coconut oil that locks in moisture while adding a whisper of tropical sweetness. I also incorporate a small amount of vanilla extract—just enough to elevate the flavor profile without overpowering the nutty base. The result? Bars that are crunchy yet chewy, sticky yet easy to cut, and that stay fresh for days.
You might think this is just another granola recipe, but I dare you to taste these bars and not go back for seconds. I’ve been told that my batch has the best texture I’ve ever made at home, and it’s true. The key twist? A pinch of sea salt that cuts through the sweetness, revealing depth you won’t find in store‑bought versions. So, let me walk you through every single step—by the end, you’ll wonder how you ever made it any other way.
What Makes This Version Stand Out
- Crunch Factor: The oats are toasted to a perfect golden hue, giving each bite a satisfying snap that echoes through the chewy center. This contrast keeps the texture interesting and prevents the bars from feeling flat.
- Moisture Balance: Coconut oil is added just enough to keep the bars moist without making them greasy. The result is a chewy interior that holds together while still giving way to a subtle crunch.
- Gluten-Free Assurance: Every grain is certified gluten-free, so even those with celiac disease or a gluten sensitivity can indulge without worry. The recipe’s simplicity eliminates cross‑contamination risks.
- Sweetness Harmony: Honey is the sweetener of choice, offering natural sweetness with a floral undertone that balances the salt and nut flavors. It’s a cleaner alternative to refined sugar.
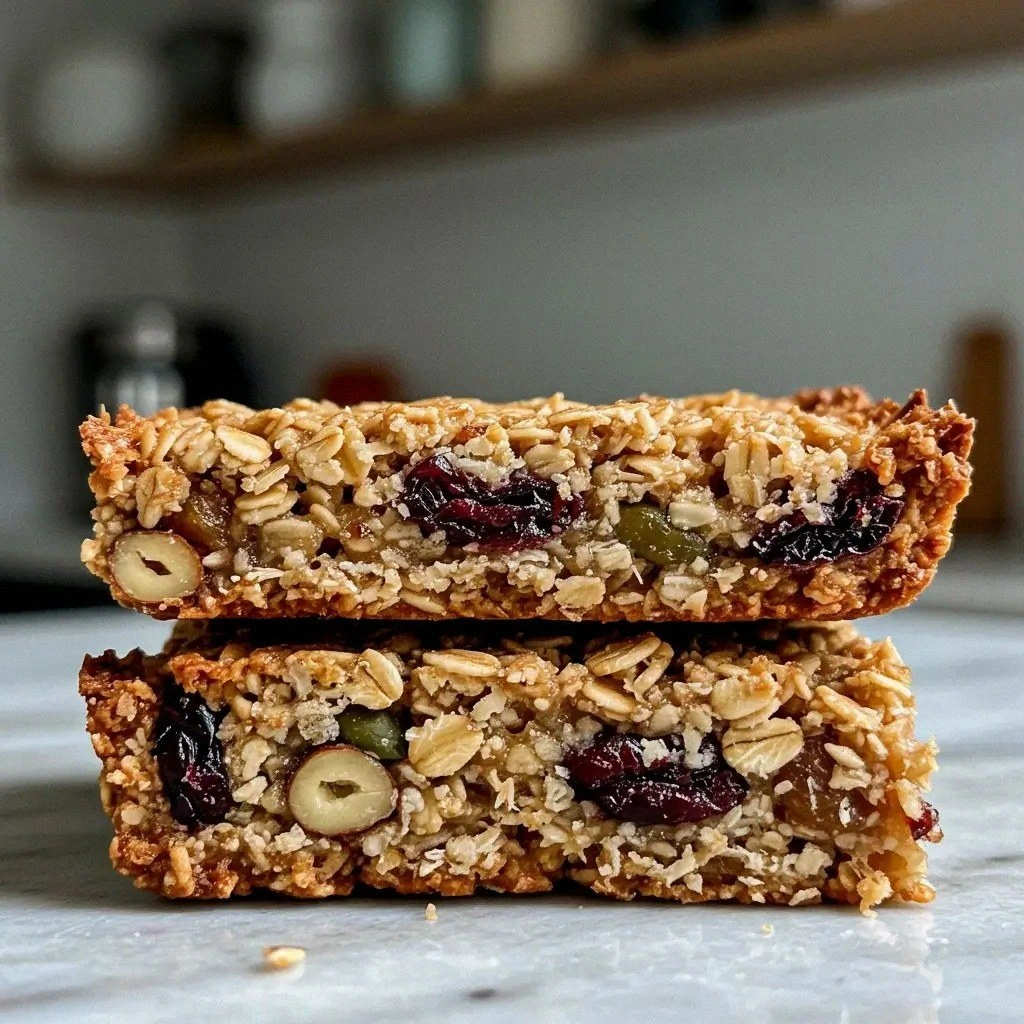
- Texture Contrast: The combination of almonds, dried cranberries, and shredded coconut creates layers of texture, from crunchy to chewy to slightly chewy.
- Make-Ahead Friendly: Once baked, the bars keep for a week in an airtight container. They’re also freezer‑friendly, so you can batch‑cook and stockpile for busy weeks.
- Crowd‑Pleaser: Whether you’re a fitness enthusiast, a busy parent, or a student on a budget, these bars fit every lifestyle. Their balanced macros make them a go-to snack for any occasion.
Inside the Ingredient List
The Flavor Base
At the heart of these bars is a simple yet powerful trio: gluten‑free rolled oats, honey, and a splash of vanilla extract. The oats provide the bulk and the essential fiber, while honey adds a natural sweetness that caramelizes beautifully when baked. Vanilla isn’t just a flavor; it’s a mood enhancer, giving the mix a subtle aroma that makes the kitchen feel like a bakery. A pinch of sea salt pulls the flavors together, preventing the honey from becoming overly sweet. If you’re looking for a dairy alternative, use oat milk in the mixture for a slightly lighter taste.
The Texture Crew
Texture is everything in granola bars, and this recipe delivers on all fronts. Shredded coconut adds a chewy bite that contrasts with the crunch of toasted oats. Chopped almonds give a satisfying crunch and a buttery taste that complements the honey. Dried cranberries introduce a burst of tartness, cutting through the richness and keeping the bars from feeling too heavy. If you prefer a different nut, walnuts or pecans work well, but keep the size of the pieces uniform to ensure even baking.
The Unexpected Star
Coconut oil is the unsung hero of this recipe. It’s the secret to a moist yet firm texture, preventing the bars from becoming dry or crumbly. Coconut oil also brings a subtle tropical flavor that elevates the overall taste profile. The trick is to melt the oil just enough to mix with the honey—too hot and the oils separate; too cold and the mixture clumps. A small amount of coconut oil, about a quarter cup, is all you need to transform the bars into a chewy masterpiece.
The Final Flourish
While the core ingredients are simple, adding a final flourish can personalize the bars. A handful of dark chocolate chips, a dash of cinnamon, or a sprinkle of pumpkin seeds can turn the bars into a seasonal treat. If you’re craving something savory, try a pinch of smoked paprika or a sprinkle of nutritional yeast for umami. The key is to add extras in small quantities to avoid overpowering the delicate balance of sweetness and crunch.
Everything’s prepped? Good. Let’s get into the real action.
The Method — Step by Step
- Preheat the oven to 350°F (175°C) and line an 8‑inch square pan with parchment paper, leaving a small overhang for easy removal. This step ensures the bars bake evenly and makes cleanup a breeze. While the oven heats, gather all your ingredients and set them out on a clean counter.
- In a large mixing bowl, combine the gluten‑free rolled oats, shredded coconut, chopped almonds, and dried cranberries. Toss them together until evenly distributed, ensuring each bite contains a little of every texture. This is the foundation of your bars, so take a moment to feel the dry mixture in your hands.
- In a small saucepan, melt the coconut oil over low heat, then stir in the honey and vanilla extract until the mixture is silky smooth. The aroma of honey and coconut should fill the kitchen, signaling that you’re on the right track. Kitchen Hack: Warm the mixture gently to keep the honey from crystallizing, but avoid boiling to preserve the natural enzymes.
- Pour the warm honey‑coconut mixture over the dry ingredients and stir until everything is coated. The mixture should feel tacky, not wet, which indicates the right moisture level. This is the moment where the flavors start to mingle, and the kitchen smells like a bakery.
- Add the sea salt and stir again, ensuring the salt is evenly dispersed. The salt is critical; it cuts through the sweetness and adds depth. Watch Out: Do not over‑mix; too much stirring can break the oats and create a gummy texture.
- Press the mixture firmly into the prepared pan using the back of a spoon or a flat glass. A tight press ensures the bars hold together after baking. The edges should look slightly darker than the center, signaling that the mixture has been compacted.
- Bake for 25 minutes, or until the edges are golden brown and the center feels firm to the touch. The aroma of toasted nuts and honey will fill the room. Once done, remove the pan from the oven and let the bars cool for 10 minutes before lifting them out using the parchment overhang.
- Transfer the bars to a cutting board and cut them into 12 equal pieces using a sharp knife. A clean cut ensures each bar has a uniform shape and bite size. If the bars feel too soft, let them cool completely before cutting.
- Arrange the bars on a wire rack or parchment paper and let them cool to room temperature. This step allows the bars to set, ensuring they hold their shape when stored. The cool, crisp bars will now be ready for storage.
- Wrap each bar individually in parchment paper or store them in an airtight container. For maximum freshness, keep them in the refrigerator or freeze them for longer storage. When you’re ready to enjoy a bar, simply let it sit at room temperature for a few minutes to soften.
That’s it — you did it. But hold on, I've got a few more tricks that will take this to another level.
Insider Tricks for Flawless Results
The Temperature Rule Nobody Follows
Many bakers bake granola bars at 400°F, but that can burn the honey before the oats toast. Keeping the oven at 350°F ensures even browning and preserves the natural sugars. I’ve baked at 350°F for years, and the bars never come out with a burnt aftertaste. If you’re in a hurry, you can bump the heat to 375°F for the last 5 minutes to get a slightly crispier crust.
Why Your Nose Knows Best
Before you lift the pan out, give it a quick sniff. A sweet, nutty aroma is a sign the honey has caramelized just right. If the smell is faint, let it bake a minute longer. My friend once tried to cut the bars too early, and they collapsed into a sticky mess. Trust your senses; they’re your best judge of doneness.
The 5-Minute Rest That Changes Everything
After baking, let the bars rest in the pan for 10 minutes. This rest period allows the mixture to set, making it easier to lift and cut. Cutting too soon can cause the bars to crumble. I’ve learned that a short rest is the difference between a mess and a masterpiece.
Pressing with Purpose
When you press the mixture into the pan, don’t just slap it down. Use a firm, even pressure, and then tap the pan lightly on the counter to remove air pockets. Air pockets create uneven textures and can cause the bars to crack when you cut them. A smooth surface guarantees a clean cut.
Cooling on a Wire Rack
Cooling the bars on a wire rack rather than a flat surface lets air circulate, preventing the bottom from becoming soggy. If you don’t have a rack, a parchment‑lined baking sheet works fine. I’ve found that bars that cool on a rack stay crisp longer.
Storing for Longevity
Wrap each bar individually in parchment or wax paper before placing them in an airtight container. This double layer prevents moisture from seeping in and keeps the bars chewy. For longer storage, freeze them in a zip‑lock bag; thaw at room temperature for 15 minutes before eating.
Creative Twists and Variations
This recipe is a playground. Here are some of my favorite ways to switch things up:
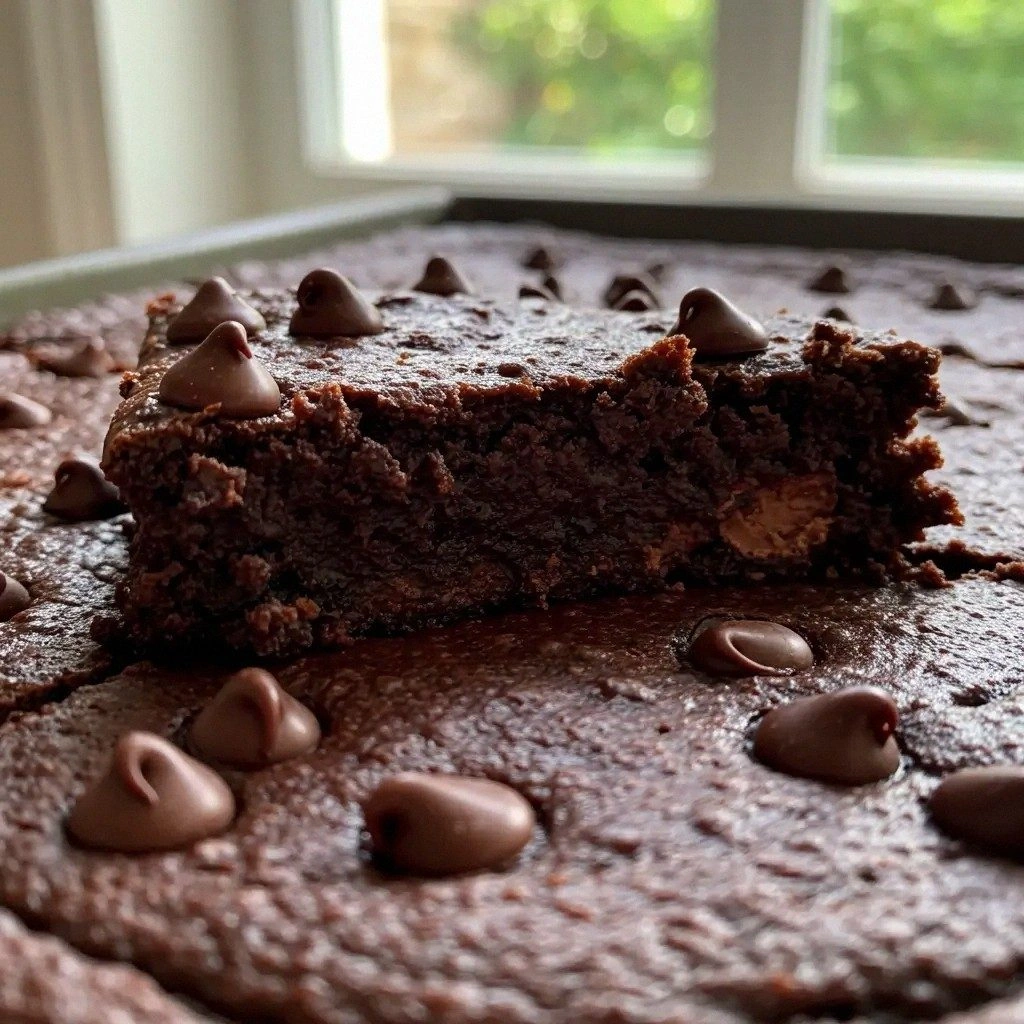
Chocolate Chip Delight
Fold in 1/2 cup of dark chocolate chips before baking. The chocolate melts into pockets of gooey sweetness that contrast with the crunchy base. Perfect for chocolate lovers or a special dessert treat.
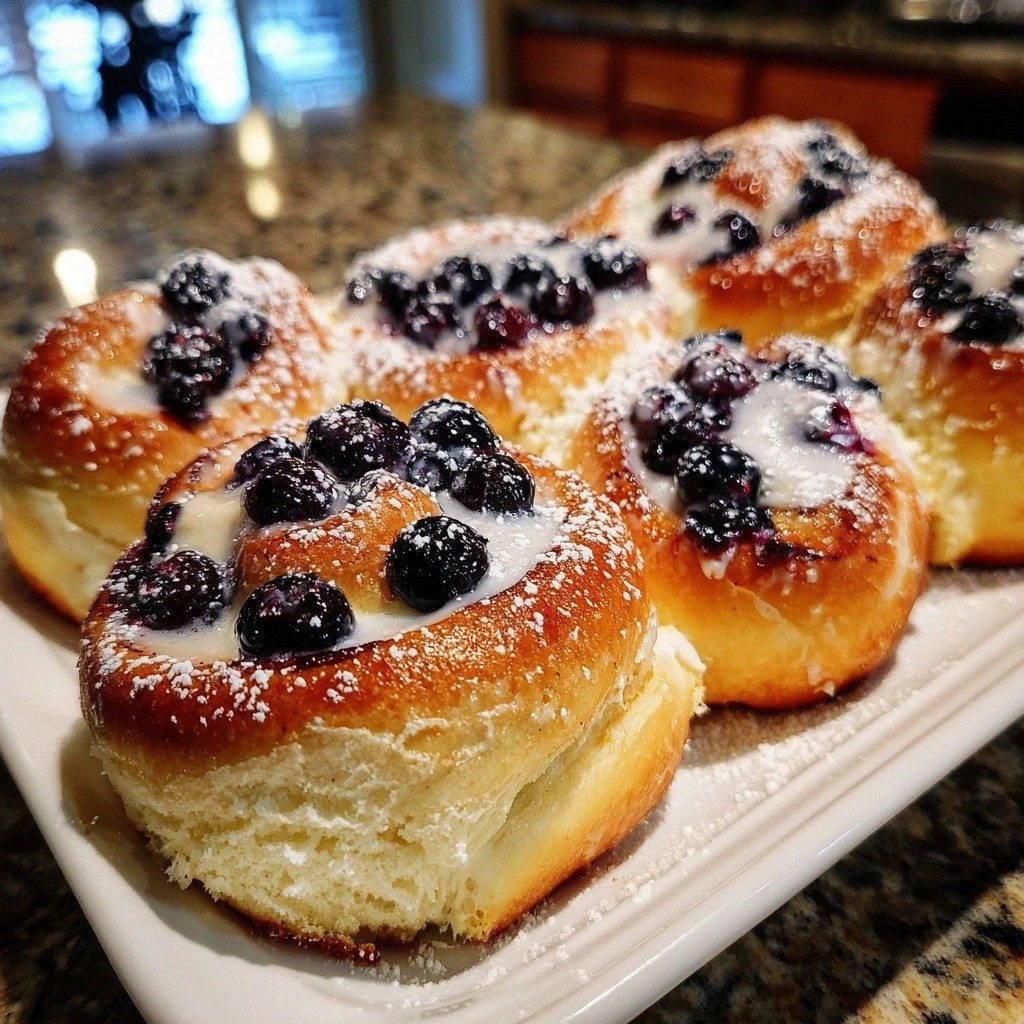
Maple‑Berry Surprise
Replace honey with maple syrup and add 1/2 cup of fresh blueberries. The maple gives a deeper, earthy sweetness, while the blueberries add a burst of juiciness. Great for a breakfast snack during berry season.
Spiced Pumpkin Bars
Stir in 1 teaspoon of pumpkin spice and 1/4 cup of pumpkin puree. The spice blend adds warmth, and the puree keeps the bars moist. Ideal for fall or holiday gatherings.
Peanut Butter Swirl
After pressing the base mixture, swirl in a thin line of peanut butter before baking. The peanut butter melts into ribbons that add a rich, nutty flavor. This is a crowd‑pleaser at parties and potlucks.
Almond‑Coconut Crunch
Swap almonds for toasted cashews and add 1/4 cup of desiccated coconut. The cashews provide a buttery crunch, while the coconut adds a tropical twist. This variation works well for a beach‑inspired snack.
Savory Herb Edition
Omit the honey and replace it with a tablespoon of olive oil. Add 1 tablespoon of dried rosemary and 1/2 teaspoon of smoked paprika. The result is a savory, herb‑infused bar that pairs nicely with cheese or crackers.
Storing and Bringing It Back to Life
Fridge Storage
Store the bars in an airtight container at room temperature for up to one week. For a slightly firmer texture, keep them in the refrigerator. They’ll stay crisp for several days and still taste fresh.
Freezer Friendly
Wrap each bar in foil or parchment, then place them in a freezer‑safe bag. They can stay in the freezer for up to three months. When you’re ready to eat, let them sit at room temperature for 10–15 minutes to soften.
Best Reheating Method
To revive a stale bar, place it in a preheated oven at 300°F for 5 minutes. Alternatively, microwave on low for 15 seconds. Add a tiny splash of water before reheating to create steam, which restores the chewy texture.