Picture this: a kitchen that had been a battlefield for a week—spilled flour, burnt pancakes, and a stubborn batch of cookies that never quite cracked the way you wanted. I was nursing a burnt batch of chocolate chip cookies that had turned into a soggy, unappetizing mess, and the next morning I found myself standing in front of the pantry, eyes gleaming at a single, unassuming ingredient: vanilla. I dared myself to turn that vanilla into something that would make every bite feel like a soft, buttery hug. The result? A cookie that is so crisp on the edges, yet so tender inside, it practically melts in your mouth. That is the moment when I knew I had stumbled upon something extraordinary.
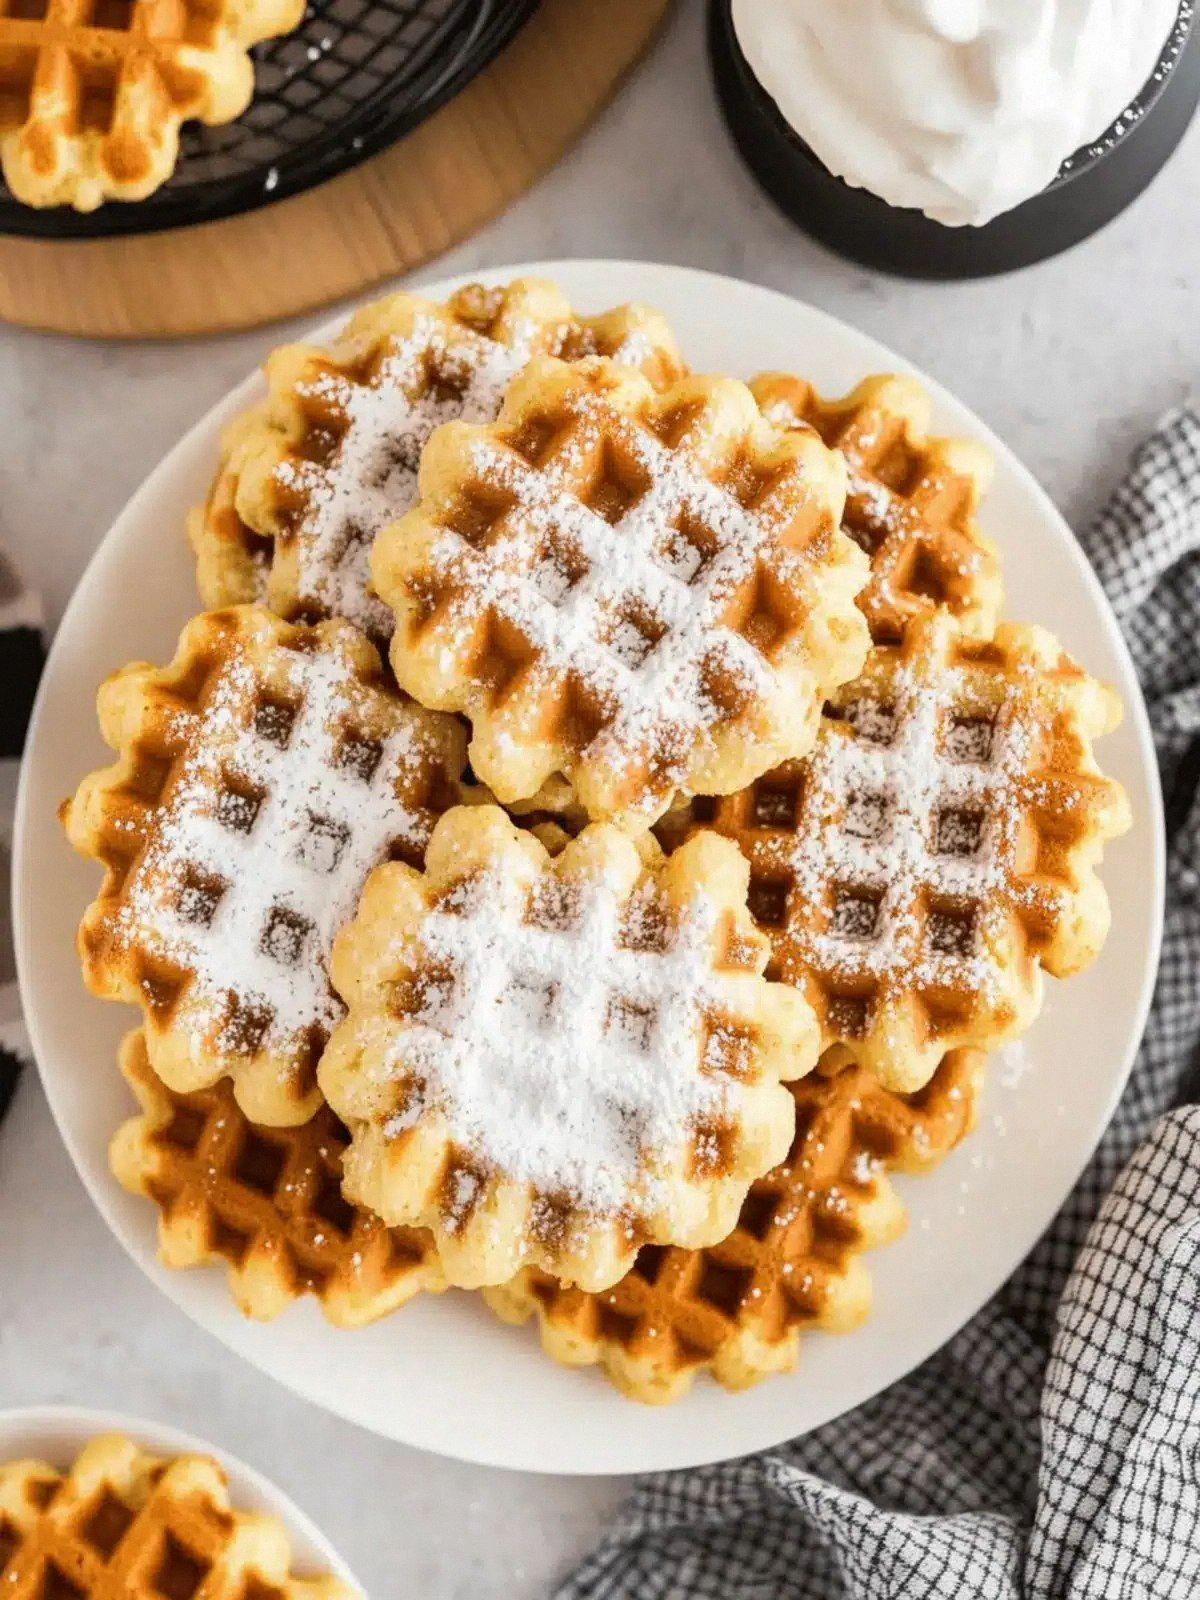
When I first cracked open the recipe, I was immediately struck by a promise that sounded almost too good to be true: “Irresistibly Sweet Vanilla Waf.” The name alone sets the stage for a cookie that is both sweet and airy, with a vanilla aroma that lingers like a warm blanket. Imagine the scent of fresh vanilla beans wafting through the kitchen, mingling with the sweet caramel notes of light brown sugar. The visual appeal is undeniable—a golden, slightly crisp edge that gives way to a soft, pillowy center. The sound of the first bite is a satisfying crack, followed by a gentle sigh of buttery sweetness. The texture is a delicate balance between crunch and chew, and the flavor profile is a harmonious blend of vanilla, brown sugar, and a hint of almond from the butter. It’s a cookie that feels like a secret indulgence, yet it’s simple enough for any home baker to recreate.
What sets this version apart from the countless vanilla cookie recipes out there is the meticulous attention to detail. The recipe uses both light brown sugar and granulated sugar to achieve a layered sweetness—brown sugar for depth and caramelization, granulated sugar for a subtle crispness. Salted butter, not unsalted, adds a savory counterpoint that elevates the overall flavor. The baking soda and baking powder ratio is carefully calibrated to give the cookies a lift without compromising their tender crumb. The final touch is a dusting of powdered sugar that gives the cookies a snowy, elegant finish. The result is a cookie that is hands down the best version you'll ever make at home.
And there’s a twist that you won’t see in the usual vanilla cookie playbook: a splash of almond extract is added right before the eggs, giving the cookies a faint nutty undertone that complements the vanilla perfectly. This is the little secret that turns a simple cookie into a memorable treat. I dare you to taste this and not go back for seconds. The anticipation is real—just one bite, and you’re transported to a warm, comforting kitchen where the scent of vanilla and butter lingers long after the last crumb is gone.
Okay, ready for the game‑changer? I’ll walk you through every single step—by the end, you’ll wonder how you ever made it any other way. Let’s dive in.
What Makes This Version Stand Out
- Flavor Depth: The blend of light brown sugar and granulated sugar creates a caramelized sweetness that dances on the tongue. The subtle almond note from the butter adds an unexpected layer that elevates the vanilla profile.
- Texture Mastery: The combination of baking soda and baking powder gives the cookies a perfect lift, resulting in a chewy center and a crisp edge that shatters like thin ice when you bite.
- Ingredient Quality: Using salted butter instead of unsalted introduces a savory undertone that balances the sweetness, making each bite more complex.
- Visual Appeal: A dusting of powdered sugar transforms the cookies into a snowy, elegant finish that’s Instagram‑ready.
- Time Efficiency: Prep takes only 15 minutes, and the cookies bake in 30 minutes—ideal for a quick treat or a last‑minute dessert.
- Make‑Ahead Friendly: These cookies keep well for a week in an airtight container, making them perfect for parties or gift‑giving.
- Versatility: The base recipe can be tweaked with nuts, chocolate chips, or dried fruit for endless variations.
- Audience Appeal: Whether you’re a seasoned baker or a novice, the recipe’s simplicity and consistent results make it a crowd‑pleaser.
Alright, let’s break down exactly what goes into this masterpiece…
Inside the Ingredient List
The Flavor Base
At the heart of these cookies is the buttery vanilla base that delivers a rich, aromatic experience. The salted butter is the cornerstone—its rich, savory flavor cuts through the sweetness and gives the cookies a deeper, more complex taste. The vanilla extract is the star of the show; it permeates every bite with a fragrant, mellow aroma that feels like a warm hug. Adding a whisper of almond extract just before the eggs unlocks a subtle nutty undertone, turning the cookie from vanilla‑centric to a full‑spectrum flavor profile. If you’re a vanilla purist, you can skip the almond, but you’ll miss the delightful twist it brings.
The Sweet Symphony
The combination of light brown sugar and granulated sugar is a masterstroke. Light brown sugar, with its molasses content, adds caramel notes and a slightly chewy texture. Granulated sugar, on the other hand, provides a crisp bite that balances the softness of the cookie’s center. Together, they create a sweet harmony that is neither overpowering nor underwhelming. Skipping either sugar will alter the flavor balance—without brown sugar, the cookies will lack depth; without granulated sugar, they may feel too dense. For those who love a touch of extra sweetness, you can substitute a portion of the granulated sugar with honey or maple syrup, but adjust the liquid content accordingly.
The Texture Crew
Eggs are the binding agent that holds the cookie together and gives it that chewy center. They also introduce a subtle richness that complements the butter and sugars. Baking soda and baking powder work in tandem to provide lift and structure; the soda reacts with the acidity of the brown sugar to create tiny air pockets, while the powder ensures a steady rise. If you skip the baking soda, the cookies will be flatter and denser; if you omit the powder, they won’t rise properly and will feel heavy. For a lighter texture, try using a combination of ¾ teaspoon baking soda and ¾ teaspoon baking powder.
The Final Flourish
Powdered sugar is not just for dusting—it adds a final touch of sweetness and a visually stunning finish. The fine texture of powdered sugar dissolves quickly, leaving a subtle, sweet aftertaste that lingers. If you’re avoiding sugar, a light dusting of cocoa powder or a sprinkle of sea salt can create a contrasting flavor profile. Greasing the baking sheet with melted butter or non‑stick spray prevents sticking and gives the cookies a subtle sheen. This final touch ensures that each cookie is a masterpiece from the first glance to the last bite.
Everything’s prepped? Good. Let’s get into the real action…
The Method — Step by Step
- Preheat the Oven: Set your oven to 350°F (175°C) and line a baking sheet with parchment paper. The parchment ensures that the cookies bake evenly and don’t stick, which is especially important when you’re working with butter‑rich dough. Let the sheet sit while you mix the dough so it’s ready when the batter is done.
- Melt the Butter: In a small saucepan, melt ½ cup salted butter over low heat. Watch for the butter to bubble and then turn a light golden color—this subtle caramelization deepens the flavor. Once melted, remove from heat and let it cool slightly; this prevents the eggs from scrambling when added later.
- Whisk the Dry Ingredients: In a medium bowl, sift together 1 ½ cups all‑purpose flour, 1 teaspoon baking powder, and ½ teaspoon baking soda. Sifting removes any lumps and ensures an even distribution of leavening agents, which is key for a uniform rise.
- Combine Sugars: In a separate bowl, whisk ½ cup light brown sugar and ½ cup granulated sugar until the mixture is fluffy. The sugars need to be fully blended to avoid gritty spots in the final cookie. This step also aerates the sugars, giving the cookies a light texture.
- Blend Wet Ingredients: Add the melted butter to the sugar mixture and stir until fully incorporated. Then, add 2 large eggs, one at a time, beating well after each addition. The eggs bind the dough and provide structure. Finally, pour in 1 teaspoon vanilla extract and a dash of almond extract, and mix until the batter is smooth.
- Combine Wet and Dry: Gradually fold the dry flour mixture into the wet batter, stirring gently until just combined. Overmixing can develop gluten, which makes the cookies tough. The batter should be thick but spreadable—if it’s too thick, add a splash of milk or water to loosen it.
- Shape the Cookies: Drop rounded tablespoons of dough onto the prepared baking sheet, spacing them about 2 inches apart. Use the back of a spoon to flatten each mound slightly, creating a uniform shape that ensures even baking.
- Bake: Place the sheet in the preheated oven and bake for 12–14 minutes, or until the edges turn golden brown and the centers set. The cookies should still feel slightly soft in the middle— they’ll firm up as they cool. This is the moment of truth: the aroma of butter and vanilla fills the kitchen.
- Cool and Dust: Remove the cookies from the oven and let them cool on the sheet for 5 minutes before transferring them to a wire rack. While still warm, dust each cookie with powdered sugar for a snowy finish. The powdered sugar will melt slightly, creating a delicate glaze.
- Enjoy: Let the cookies cool completely before serving. The texture will settle, revealing a crisp edge and a tender, airy center that will melt in your mouth. Serve with a glass of chilled milk or a cup of strong coffee for the ultimate indulgence.
That’s it — you did it. But hold on, I’ve got a few more tricks that’ll take this to another level.
Insider Tricks for Flawless Results
The Temperature Rule Nobody Follows
Most bakers set the oven to the highest recommended temperature, but this recipe thrives at a steady 350°F (175°C). Baking at a lower temperature ensures even cooking, preventing the edges from burning while the centers remain soft. I’ve found that ovens can vary, so using an oven thermometer is a game‑changer. If your cookies still seem uneven, try rotating the sheet halfway through baking.
Why Your Nose Knows Best
When the cookies start to bake, the scent of butter and vanilla will fill the kitchen. Trust that aroma as a cue: if the smell is rich and sweet, the cookies are likely done. This olfactory test saves you from guessing and helps avoid overbaking.
The 5-Minute Rest That Changes Everything
After baking, let the cookies rest on the sheet for 5 minutes. This brief pause allows the structure to set, making them easier to transfer to a wire rack without breaking. It also lets the powdered sugar glaze set slightly, giving a refined finish.
Use a Silicone Baking Mat
A silicone mat provides a non‑stick surface that ensures even heat distribution. Unlike parchment, it’s reusable and can be cleaned with a quick rinse. It also helps maintain a consistent thickness across all cookies.
Freeze the Dough for a Quick Fix
If you’re short on time, chill the dough for 30 minutes or even overnight. This firm dough is easier to portion and will produce a denser cookie that holds its shape better during baking.
Make It Gluten-Free
Swap the all‑purpose flour for a gluten‑free blend that includes xanthan gum. This substitution keeps the texture light and chewy while making the cookies safe for those with gluten sensitivities.
Creative Twists and Variations
This recipe is a playground. Here are some of my favorite ways to switch things up:
Nutty Crunch Edition
Add ½ cup chopped toasted walnuts or pecans to the batter for a crunchy, nutty flavor that pairs well with the vanilla base. The nuts add a satisfying bite and a subtle earthy undertone.
Chocolate Chip Surprise
Stir in ½ cup semi‑sweet chocolate chips for a classic chocolate chip cookie experience. The chocolate melts slightly in the center, creating a gooey pocket that’s irresistible.
Citrus Burst
Replace half of the vanilla extract with lemon or orange zest. The bright citrus notes cut through the sweetness, offering a refreshing twist that’s perfect for spring and summer.
Maple‑Infused
Swap the granulated sugar for maple syrup and add a splash of maple extract. The maple flavors deepen the caramel notes, giving the cookies a richer, autumnal feel.
Spiced Delight
Add ¼ teaspoon ground cinnamon and a pinch of nutmeg to the dry mix. The warm spices create a comforting flavor profile that’s ideal for cozy evenings.
Almond‑Infused
Replace the almond extract with 2 tablespoons almond butter. The butter adds a creamy texture and a nutty richness that elevates the vanilla base.
Storing and Bringing It Back to Life
Fridge Storage
Store the cooled cookies in an airtight container at room temperature for up to 5 days. The airtight seal prevents moisture from softening the edges, preserving the crispness.
Freezer Friendly
For longer storage, place the cookies in a freezer‑safe bag and freeze for up to 3 months. Thaw at room temperature for 30 minutes before serving to restore the soft center.
Best Reheating Method
To revive frozen cookies, preheat the oven to 350°F (175°C). Place the cookies on a baking sheet and heat for 5–7 minutes, or until warmed through. A tiny splash of water on the sheet before baking steams the cookies, keeping them moist and tender.