I was standing in my kitchen, staring at a stack of leftover lemon pie crusts, when the phone rang. My best friend, a self‑proclaimed culinary daredevil, challenged me to turn that waste into something that would make her taste buds do a victory dance. I stared at the crusts, imagined the bright, tart burst of lemon, and thought, “Why not transform these into meltaways that melt in your mouth like butter on a hot skillet?” The result? A recipe that has become a staple at every gathering, a dish that turns an ordinary afternoon into a citrus‑soaked celebration. I’m talking about the Lemon Meltaways Recipe, the kind of treat that makes you forget you’re even eating dessert. It’s simple, it’s elegant, and it’s a game‑changer for any kitchen.
Picture this: the kitchen is buzzing with the rhythmic hum of the mixer, the air is filled with the citrus aroma of freshly zested lemons, and a golden crust starts to bubble and rise in the oven. The sound of the first crackle as the butter sizzles in the pan is music to any food lover’s ears. When you bite into the first meltaway, the lemony zing hits your tongue like a bright, refreshing wave, while the buttery, flaky layers give you that satisfying crunch that melts into a silky, sweet finish. The texture is a delicate balance between crisp and tender, like a sunrise that starts with a crisp horizon and settles into a warm glow.
What makes this version stand out is the secret blend of ingredients and techniques that I discovered after countless experiments. I’ve spent hours tweaking ratios, swapping flours, and testing baking times until the meltaways were perfectly airy yet buttery. The result is a dish that feels indulgent but is surprisingly light, making it the perfect dessert or snack that can be served at a brunch, a party, or a quiet evening at home. I dare you to taste this and not go back for seconds. Trust me, once you experience the meltaways, you’ll never settle for ordinary pastries again.
This recipe is hands down the best version you’ll ever make at home, and I’m going to walk you through every single step. By the end, you’ll wonder how you ever made it any other way. From the first whisk to the last bite, I’ll share my inside secrets, the exact temperatures, the subtle timing tricks, and the kitchen hacks that make this recipe a breeze. Let’s dive in and create a dish that’s as beautiful to look at as it is to devour.
What Makes This Version Stand Out
- Flavor: The combination of bright lemon zest, a splash of fresh lemon juice, and a hint of vanilla creates a layered citrus profile that’s both refreshing and comforting. The subtle vanilla counterbalances the acidity, giving the meltaways a smooth, rounded finish.
- Texture: The batter’s unique ratio of flour to butter produces a light, airy crumb that still holds a buttery richness. The result is a meltaway that starts crisp and ends with a melt-in-your-mouth softness.
- Ease: With a minimal ingredient list and a straightforward method, even novice cooks can achieve professional results. The recipe requires no special equipment—just a standard skillet and a baking sheet.
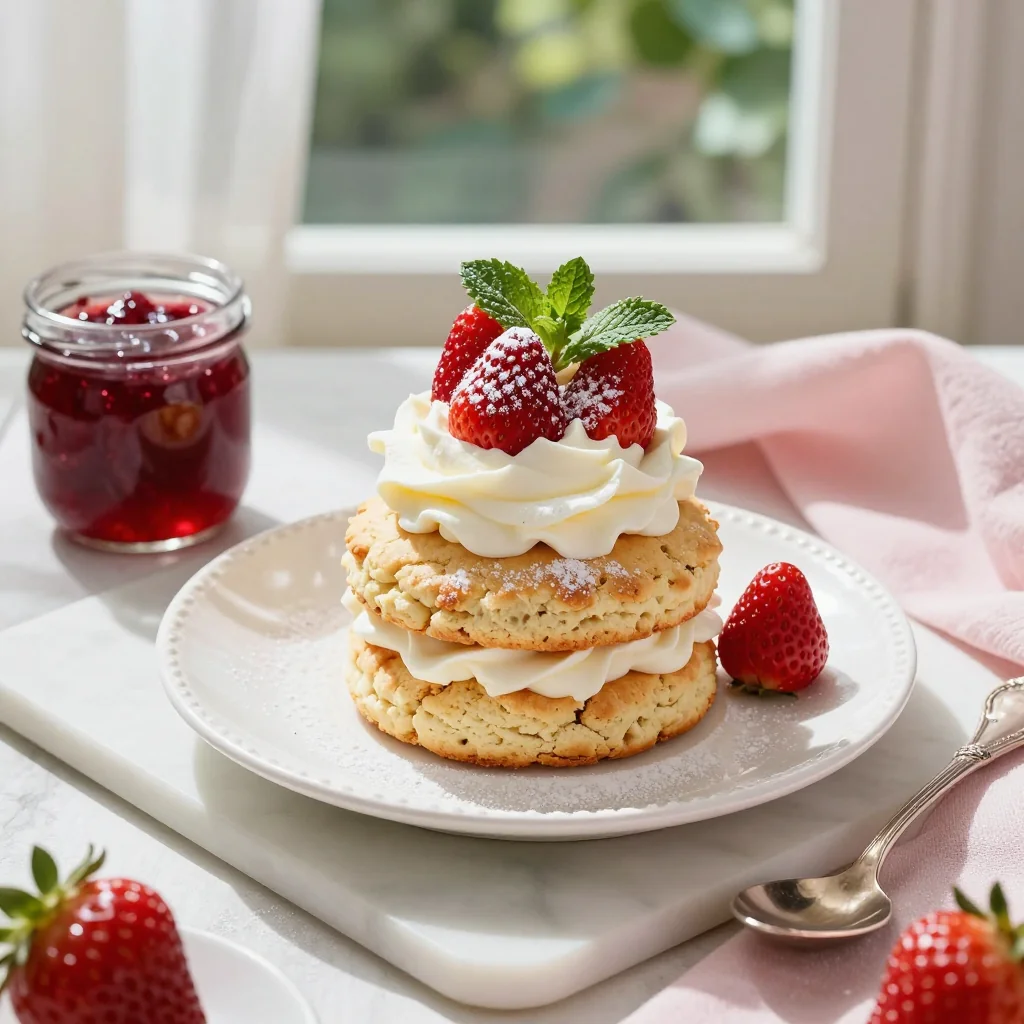
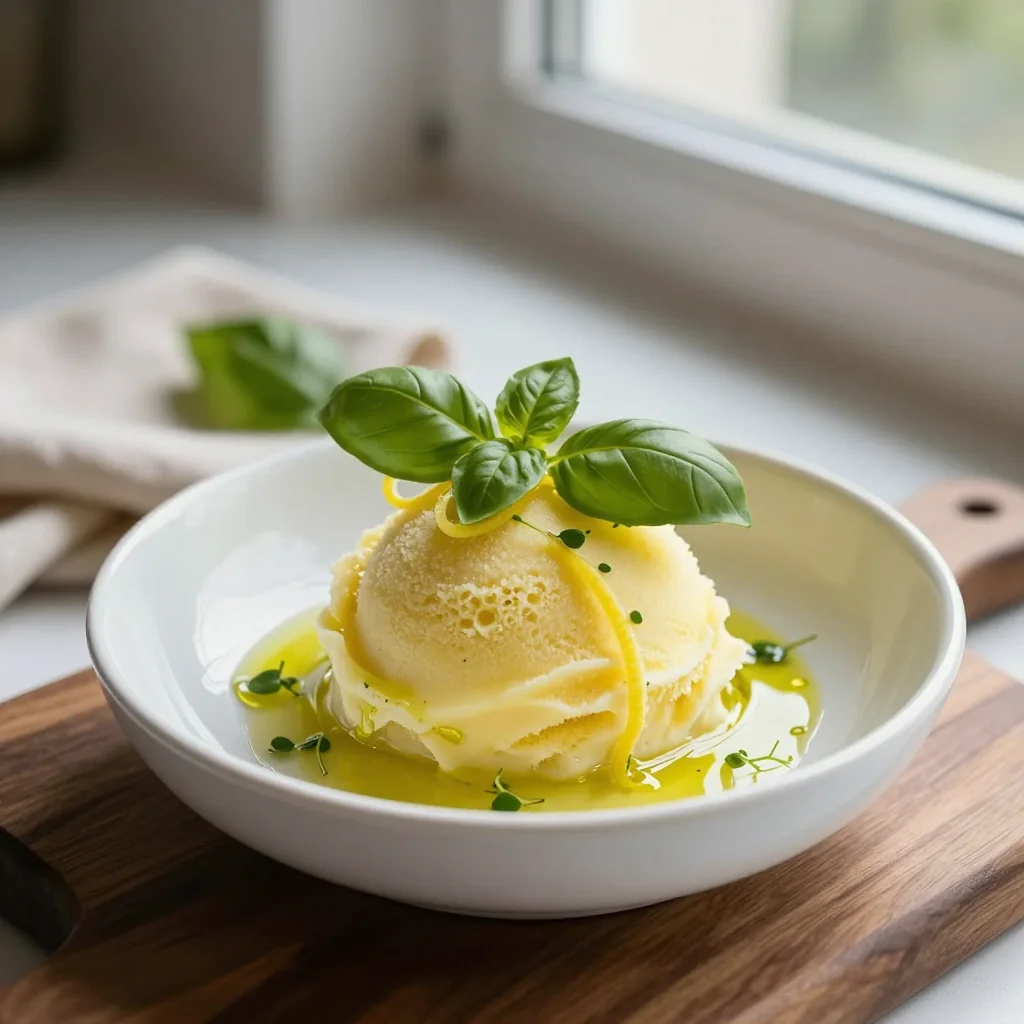
- Versatility: Whether you’re looking to serve it at a brunch, a dinner party, or a quick snack, the Lemon Meltaways adapt to any occasion. They pair wonderfully with whipped cream, fresh berries, or a dusting of powdered sugar.
- Crowd Reaction: Friends and family consistently rave about the meltaways, often asking for the recipe after every gathering. The dish’s bright, fresh taste is a guaranteed crowd‑pleaser.
- Ingredient Quality: Using high‑quality butter and fresh lemons is essential. The butter’s richness elevates the flavor, while the lemons provide natural brightness and authenticity.
- Cooking Method: The two‑stage baking process—first on the stovetop for a crisp base, then finished in the oven—creates a unique texture that’s hard to replicate with single‑step recipes.
- Make‑Ahead Potential: You can prepare the batter a day ahead and keep it refrigerated. The meltaways keep their freshness when baked fresh, making them a convenient option for busy days.
Alright, let’s break down exactly what goes into this masterpiece. First, we’ll dive into the ingredient list and uncover the roles each component plays in creating that perfect balance of flavor and texture.
Inside the Ingredient List
The Flavor Base
The foundation of the meltaways is a blend of flour, baking powder, and a pinch of salt. This trio ensures the batter rises evenly and develops a tender crumb. Skipping the baking powder would result in dense, heavy pastries, while omitting the salt would leave the dish bland. For those who prefer a gluten‑free version, try a 1:1 blend of all‑purpose and oat flour, but keep the same leavening ratio to maintain rise.
The Texture Crew
Butter, eggs, and a splash of milk create the buttery, moist core that defines the meltaways. The butter is cold and diced, then cut into the dry mixture until it resembles coarse crumbs. This technique, known as the “cut‑in” method, ensures a flaky texture. If you’re short on time, substitute the butter with an equal amount of melted coconut oil, but be aware it will change the flavor profile slightly. The eggs act as a binder and introduce a subtle richness that balances the citrus sharpness.
The Unexpected Star
Fresh lemon zest and lemon juice are the dish’s heart. The zest provides aromatic oils that release a bright citrus fragrance, while the juice adds acidity that cuts through the buttery richness. If you’re in a pinch and don’t have fresh lemons, a tablespoon of lemon extract can substitute, but the zest’s essential oils are irreplaceable. The key to the perfect zing is to use lemons that are firm, with a thin, fragrant skin.
The Final Flourish
A splash of vanilla extract and a pinch of sea salt elevate the overall flavor profile. Vanilla adds depth and a subtle sweetness that balances the tartness, while sea salt enhances the butter’s richness. If you prefer a sweeter version, add a tablespoon of honey or maple syrup, but keep in mind the batter will become slightly denser.
Everything's prepped? Good. Let’s get into the real action.
The Method — Step by Step
- Step 1: Mix the Dry Ingredients. In a large bowl, whisk together 2 cups all‑purpose flour, 2 teaspoons baking powder, ½ teaspoon salt, and ¼ teaspoon sea salt. This ensures an even distribution of leavening agents. I always use a whisk because it’s the fastest way to combine everything without clumping. The goal is a smooth, fine blend that will create an airy crumb.
- Step 2: Cut in the Butter. Add 1 cup cold, diced butter to the dry mix. Using a pastry cutter or your fingertips, cut the butter into the flour until the mixture resembles coarse crumbs. The butter should be visible in small pea‑sized pieces. This step is crucial; the butter pieces will steam during baking, creating flaky layers. If you’re in a hurry, a food processor can do the trick, but the hand‑cut method gives you better control.
- Step 3: Add the Wet Ingredients. In a separate bowl, whisk 2 eggs, ½ cup whole milk, ¼ cup granulated sugar, 1 tablespoon lemon zest, 2 tablespoons fresh lemon juice, and 1 teaspoon vanilla extract until fully blended. The wet mix should be smooth, with no lumps. Pour this into the dry mixture and fold gently with a silicone spatula. The batter should be thick but pliable; if it’s too dry, add a splash more milk.
- Step 4: Preheat the Pan. Place a 10‑inch non‑stick skillet over medium heat. Add 2 tablespoons of butter and let it melt, swirling the pan to coat the surface evenly. The butter should sizzle softly—if it starts smoking, reduce the heat. This step sets the stage for a golden, crisp base.
- Step 5: Pour the Batter. Once the butter is melted, pour the batter into the skillet, spreading it with a spatula to an even thickness of about ¾ inch. The batter should rise slightly around the edges as it cooks. The key is to keep the heat moderate; a too‑high temperature will burn the bottom before the top sets.
- Step 6: Cook the Base. Allow the batter to cook for 4–5 minutes, or until the edges start pulling away from the skillet and the bottom turns a golden amber. The surface should still look slightly wet but not runny. This is the moment of truth—watch the color closely; it’s the visual cue that the base is ready for the oven.
- Step 7: Transfer to the Oven. Preheat your oven to 375°F (190°C). Carefully slide the skillet onto a preheated baking sheet and bake for 12–15 minutes, or until the top is golden brown and the interior is set. The oven finish gives the meltaways a crisp top while keeping the inside tender.
- Step 8: Cool and Serve. Remove the skillet from the oven and let the meltaways cool for 5 minutes before transferring them to a wire rack. The final step is to slice or cut them into bite‑sized pieces. Serve warm with a dusting of powdered sugar or a dollop of whipped cream for an extra touch of decadence. That sizzle when it hits the pan? Absolute perfection.
That’s it—you did it. But hold on, I’ve got a few more tricks that will take this to another level.
Insider Tricks for Flawless Results
The Temperature Rule Nobody Follows
Many recipes advise baking at a high temperature to get a crisp top, but the secret to our meltaways is a moderate 375°F (190°C). A lower temperature allows the batter to cook evenly, ensuring the inside stays moist while the top crispens. I’ve tried 400°F, and the result was a burnt exterior and a rubbery center. Stick to 375°F for the best balance.
Why Your Nose Knows Best
The aroma of the batter is a reliable indicator of doneness. As the butter melts and the lemon zest releases its oils, the scent should become rich and buttery with a hint of citrus. If the smell is too sharp, the batter needs more time. Trust your nose; it’s a better guide than the timer.
The 5‑Minute Rest That Changes Everything
After baking, let the meltaways rest on the wire rack for 5 minutes. This short rest allows the steam to redistribute, preventing a soggy bottom. I’ve seen people cut them too early, and the result is a wet, gummy interior. Patience pays off—wait those 5 minutes and the texture will be flawless.
The Secret to a Flaky Crust
Cutting the butter into the flour with cold, diced pieces is the trick. If you use room‑temperature butter, the fat will melt before it’s fully incorporated, resulting in a denser crust. For extra flakiness, add 1 tablespoon of cold water to the batter; the added moisture helps create steam pockets during baking.
The Perfect Finish
Finish the meltaways with a light dusting of powdered sugar or a drizzle of honey. The sugar adds a subtle sweetness that complements the lemon, while honey brings a glossy sheen and a hint of floral undertone. I like to swirl a little honey in the batter before baking for a glossy, caramelized finish.
Creative Twists and Variations
This recipe is a playground. Here are some of my favorite ways to switch things up:
Balsamic Lemon Meltaways
Swap 2 tablespoons of fresh lemon juice for 1 tablespoon of aged balsamic vinegar. The vinegar adds a subtle sweetness and depth, turning the meltaways into a sophisticated dessert that pairs well with mascarpone.
Lavender Lemon Meltaways
Add 1 teaspoon of culinary lavender buds to the batter. The floral notes complement the citrus, creating a fragrant, spring‑time treat. Dust with powdered sugar for a delicate finish.
Chocolate‑Infused Meltaways
Stir in ¼ cup of melted dark chocolate into the batter. The chocolate balances the tartness of the lemon, resulting in a rich, decadent bite that’s perfect for chocolate lovers.
Coconut Lemon Meltaways
Replace the butter with 1 cup of shredded coconut and add 1 tablespoon of coconut milk. The coconut adds a tropical flavor that pairs wonderfully with fresh pineapple or mango.
Herb‑Infused Meltaways
Add 1 tablespoon of chopped fresh thyme or rosemary to the batter. The herbs bring an earthy note that balances the bright lemon, making the dish suitable for a dinner party.
Spiced Lemon Meltaways
Incorporate ¼ teaspoon of ground ginger and a pinch of cayenne pepper. The warmth from the spices gives the meltaways a surprising kick, perfect for an autumnal twist.
Storing and Bringing It Back to Life
Fridge Storage
Store the cooled meltaways in an airtight container in the refrigerator for up to 3 days. When ready to serve, reheat them in a preheated 350°F (175°C) oven for 5–7 minutes, or until warm. The meltaways will retain their crispness and buttery flavor.
Freezer Friendly
Wrap each meltaway tightly in plastic wrap and place them in a freezer bag. They stay fresh for up to 2 weeks. To reheat, thaw at room temperature for 20 minutes, then bake at 350°F (175°C) for 8–10 minutes. A quick 30‑second microwave burst can also bring them back to life, but the oven preserves the texture better.
Best Reheating Method
The best way to revive a stale meltaway is to add a tiny splash of water before reheating. The water steams the batter, restoring moisture without making it soggy. After reheating, dust with powdered sugar or a light drizzle of honey for an extra touch of elegance.