I remember the night I was juggling a dozen different cookie recipes and the kitchen turned into a chaotic symphony of flour, sugar, and almond flour. The air smelled of burnt sugar and the timer was ticking louder than a metronome. I stared at the mess and thought, “If only I could turn this mess into something that actually tastes amazing.” That moment sparked the birth of this version of crunchy almond flour treats that will make you question every other cookie you’ve ever baked.
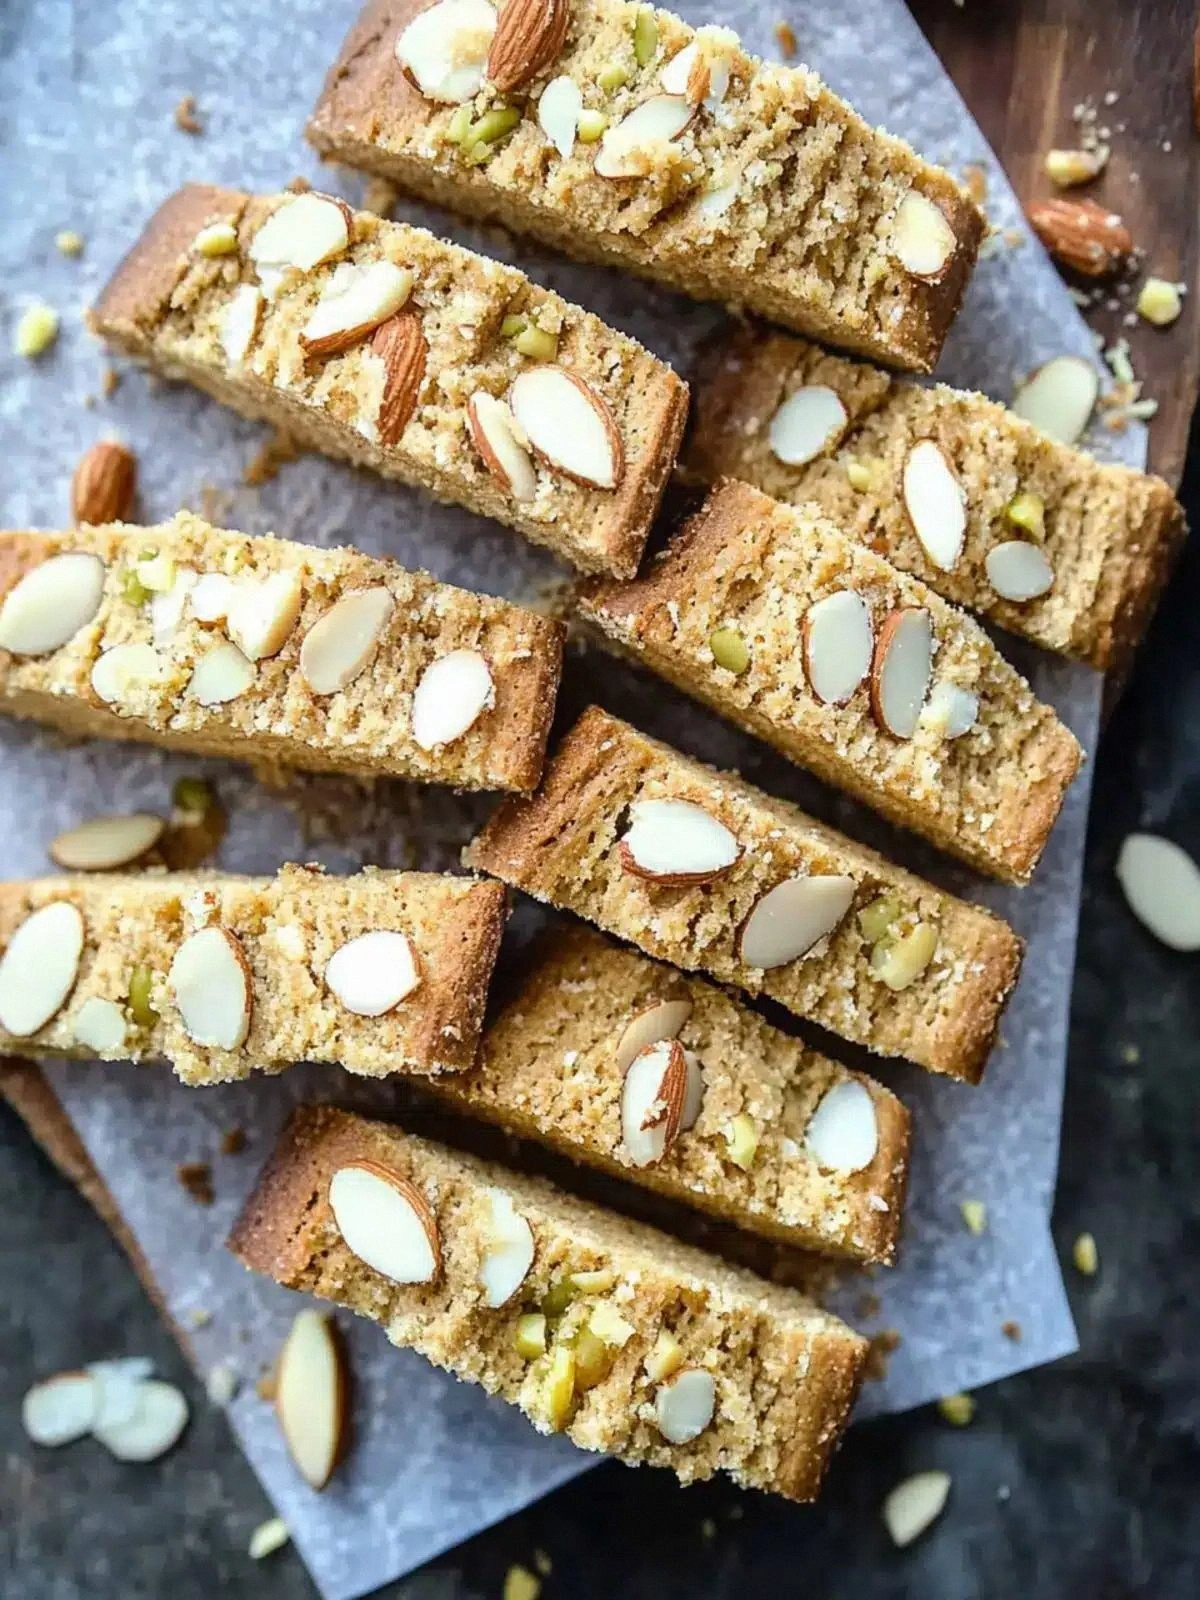
Picture this: the oven door opens and a cloud of nutty aroma envelopes the kitchen like a warm hug from an old friend. The golden edges of the biscuits crackle under your fingers, revealing a crisp interior that shatters like thin ice when you bite into it. The first bite is a buttery explosion of almond flavor, followed by a subtle sweetness that doesn’t overwhelm but rather balances the richness. Every crumb whispers a promise of crunch, and the buttery finish lingers on the palate, leaving you craving another bite.
What sets this recipe apart is not just the texture, but the meticulous balance of ingredients that work together like a well-rehearsed orchestra. The almond flour provides a nutty backbone, while the cornstarch adds that indispensable crunch that keeps the biscuits from becoming soggy. Butter, sugar, and eggs create a tender crumb that’s surprisingly light, and the almond and vanilla extracts tie the whole thing together with a fragrant, almost floral note. It’s the kind of cookie that can transition from a quick breakfast snack to a sophisticated dessert, depending on how you serve it.
I dare you to taste this and not go back for seconds. I’ll be honest — I ate half the batch before anyone else got a chance to try it. Most recipes get this completely wrong, but here’s what actually works: a precise blend of almond flour and cornstarch, a touch of almond extract, and a little vanilla to lift the flavor. Picture yourself pulling this out of the oven, the whole kitchen smelling incredible, and the moment the first bite melts on your tongue. Let me walk you through every single step — by the end, you’ll wonder how you ever made it any other way.
What Makes This Version Stand Out
- Taste: The combination of almond and vanilla extracts creates a deep, nutty flavor that’s balanced by a subtle sweetness. This isn’t the typical “cookie” taste; it’s more akin to a light, buttery almond cake that still has that satisfying crunch.
- Texture: The use of cornstarch alongside almond flour gives the biscuits a crisp exterior that stays crisp even after a few hours, while the interior remains tender and slightly chewy.
- Ingredient Quality: Blanched almond flour offers a finer texture and a milder taste compared to regular almond flour, allowing the other flavors to shine through.
- Cooking Method: Baking at a moderate temperature with a short rise time locks in moisture and prevents the cookies from browning too quickly.
- Crowd Reaction: Friends and family keep asking for the recipe after a single bite, and they can’t stop raving about how “different” and “delicious” these are.
- Make‑Ahead Potential: Once baked, the biscuits stay fresh for a week in an airtight container, and they can be reheated in a toaster oven for a fresh, warm bite.
- Versatility: Add mix-ins or swap extracts to create seasonal variations that keep the base recipe exciting year after year.
- Health Consciousness: The use of almond flour reduces refined carbs and boosts protein, making these treats a healthier alternative to standard cookies.
Alright, let’s break down exactly what goes into this masterpiece…
Inside the Ingredient List
The Flavor Base
Butter is the silent hero that gives the biscuits a rich, buttery taste and a tender crumb. It also helps the sugar dissolve evenly, preventing a gritty texture. If you’re vegan, you can substitute with a high-quality plant-based butter that’s similar in fat content. Skipping butter will result in a flat, dry biscuit that lacks the luscious mouthfeel that makes this recipe stand out.
Granulated sugar sweetens the dough and contributes to the Maillard reaction, which gives the biscuits a golden-brown hue. Use a standard white sugar; a pinch of brown sugar can add depth but will darken the biscuits. If you prefer a lower-sugar version, reduce the sugar by one-third, but be prepared for a slightly less caramelized finish.
The Texture Crew
The egg is the glue that holds everything together. It adds structure and helps the biscuits rise just enough to keep them from collapsing. If you’re allergic to eggs, a flaxseed “egg” (1 tbsp ground flaxseed + 3 tbsp water) will provide a similar binding effect, though the texture may be slightly denser.
Cornstarch is the secret weapon that creates that crisp snap. It absorbs moisture from the dough, preventing the biscuits from becoming soggy. If you can’t find cornstarch, a small amount of rice flour can work, but you’ll need to adjust the quantity to avoid excess dryness.
The Unexpected Star
Almond extract brings a concentrated almond aroma that amplifies the flavor of the almond flour. Vanilla extract balances the almond’s intensity with a warm, sweet undertone. Together, they create a fragrant profile that’s both sophisticated and comforting. If you’re sensitive to extracts, reduce the amount by half or omit them entirely; the biscuits will still be delightful but less aromatic.
The Final Flourish
Baking powder ensures the biscuits have a slight lift, preventing them from becoming too flat. Salt enhances all the flavors, cutting through the sweetness and balancing the overall taste. Optional mix-ins like chocolate chips, dried fruit, or nuts add a personal touch and can transform the biscuits into a seasonal treat. The 0.33 cup of mix-ins is a flexible placeholder; feel free to experiment with quantities to suit your taste.
Everything’s prepped? Good. Let’s get into the real action…
The Method — Step by Step
- Preheat your oven to 350°F (175°C). Line a baking sheet with parchment paper to prevent sticking. This is the foundation; a properly heated oven ensures even baking and a golden crust.
- In a medium bowl, cream the softened butter and sugar together until light and fluffy. The butter should be at room temperature; this step is crucial for a tender crumb. If the mixture looks dry, add a splash of milk to help the sugar dissolve.
- Beat in the egg, then stir in the almond and vanilla extracts. The extracts infuse the dough with aroma and depth. The mixture should be smooth and glossy before adding the dry ingredients.
- Whisk together the almond flour, cornstarch, baking powder, and salt in a separate bowl. This dry blend ensures even distribution of leavening agents and prevents clumping.
- Gradually fold the dry mixture into the wet batter until just combined. Be careful not to overmix; the dough should be slightly sticky but manageable. Overworking the dough can result in a tough texture.
- Fold in your optional mix-ins. Whether it’s chocolate chips or dried cranberries, add them gently to avoid breaking them apart. The mix-ins should be evenly distributed for consistent flavor in every bite.
- Using a tablespoon, drop dough onto the prepared baking sheet, spacing them about 2 inches apart. Press down lightly to flatten the tops. The spacing allows the biscuits to expand without merging.
- Bake for 12-15 minutes, or until the edges are lightly browned and the tops are set. The biscuits should smell toasty, and the edges will start pulling away from the parchment.
- Remove from the oven and let the biscuits cool on the sheet for 5 minutes before transferring them to a wire rack. This short cooling period allows the biscuits to firm up without cracking.
- Once cooled, store the biscuits in an airtight container at room temperature for up to a week. For longer storage, keep them in the freezer for up to two months.
- To reheat, place a few biscuits on a baking sheet and bake at 300°F (150°C) for 5 minutes. They’ll regain their crispness while maintaining a soft interior.
That’s it — you did it. But hold on, I've got a few more tricks that'll take this to another level…
Insider Tricks for Flawless Results
The Temperature Rule Nobody Follows
Many bakers bake at 375°F, but that high heat can cause the edges to brown before the center sets. Baking at 350°F allows the biscuits to cook evenly, ensuring a crisp exterior and a tender interior. If you prefer a darker crust, raise the temperature to 375°F for the last 2 minutes, but keep a close eye on them to avoid burning.
Why Your Nose Knows Best
The aroma of baking almond flour is a subtle but powerful indicator of doneness. When the biscuits emit a nutty, slightly sweet scent, they’re ready to come out of the oven. Trusting your nose can save you from overbaking or underbaking, which can ruin the texture.
The 5-Minute Rest That Changes Everything
Letting the biscuits rest on the baking sheet for 5 minutes after baking is crucial. During this time, the residual heat continues to cook the biscuits, setting the crumb. Skipping this step can leave the biscuits soft and soggy, which defeats the purpose of a crunchy treat.
Even Distribution of Mix-Ins
When folding in mix-ins, do so gently and in a single pass. This prevents the mix-ins from sinking to the bottom of the dough, which would create uneven flavor distribution. If you’re adding chocolate chips, for instance, you’ll get a delightful burst of chocolate in every bite.
Using a Silicone Baking Mat
A silicone baking mat provides a perfectly non-stick surface and a slight elevation that allows heat to circulate evenly around the biscuits. This helps prevent the bottoms from becoming too brown and gives the biscuits a uniform shape.
Creative Twists and Variations
This recipe is a playground. Here are some of my favorite ways to switch things up:
Citrus Burst
Add zest from one orange or lemon to the dough and replace vanilla extract with a splash of citrus extract. The bright, tangy notes contrast beautifully with the nutty base, making these biscuits perfect for brunch.
Chocolate Indulgence
Fold in dark chocolate chips and replace half of the almond extract with cocoa powder. The result is a rich, chocolatey biscuit that still maintains the signature crunch. Pair them with a latte for an indulgent treat.
Savory Spin
Swap the sugar for a pinch of smoked sea salt and add finely chopped rosemary or thyme. These savory biscuits pair wonderfully with cheese platters and become a conversation starter at dinner parties.
Holiday Cheer
During the holiday season, mix in dried cranberries, chopped pecans, and a dash of cinnamon. The warm spices and tart fruit make these biscuits feel festive, and they’re perfect for gifting.
Low-Carb Edition
Replace the almond flour with coconut flour and reduce the sugar by half. Add a tablespoon of flaxseed meal to help bind the dough. These biscuits are perfect for keto or low-carb diets without sacrificing flavor.
Gluten-Free Gluten-Free
The recipe is already gluten-free, but for extra assurance, use certified gluten-free almond flour and baking powder. This ensures that even those with severe gluten sensitivities can enjoy these biscuits safely.
Storing and Bringing It Back to Life
Fridge Storage
Store the cooled biscuits in an airtight container at room temperature for up to a week. The airtight seal preserves the crunch and prevents the biscuits from absorbing moisture from the fridge. If you notice any softness, let them sit at room temperature for 15 minutes before serving.
Freezer Friendly
For longer storage, place the biscuits in a freezer bag, removing as much air as possible. They can be kept in the freezer for up to two months. When you’re ready to eat them, let them thaw at room temperature for 20 minutes before reheating.
Best Reheating Method
Preheat a skillet over medium heat and place the biscuits in the pan, turning them once. This method revives the crunch while keeping the interior soft. For a quick option, pop a few biscuits in a toaster oven at 300°F for 5 minutes. Add a tiny splash of water before reheating to create a light steam, which helps the biscuits regain their original texture.